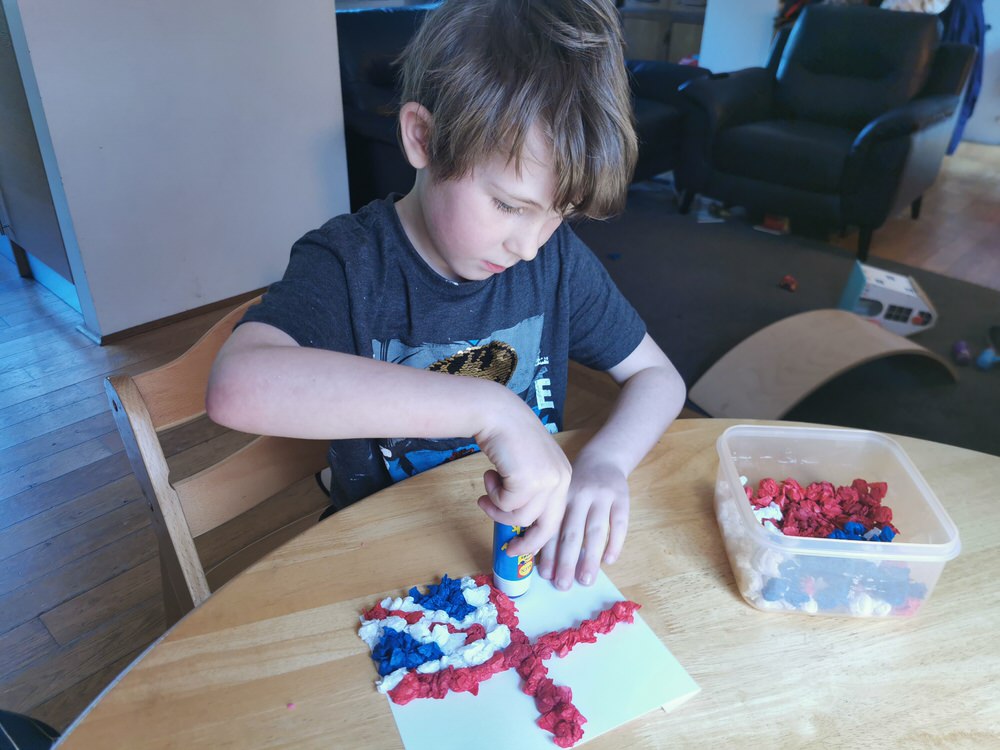
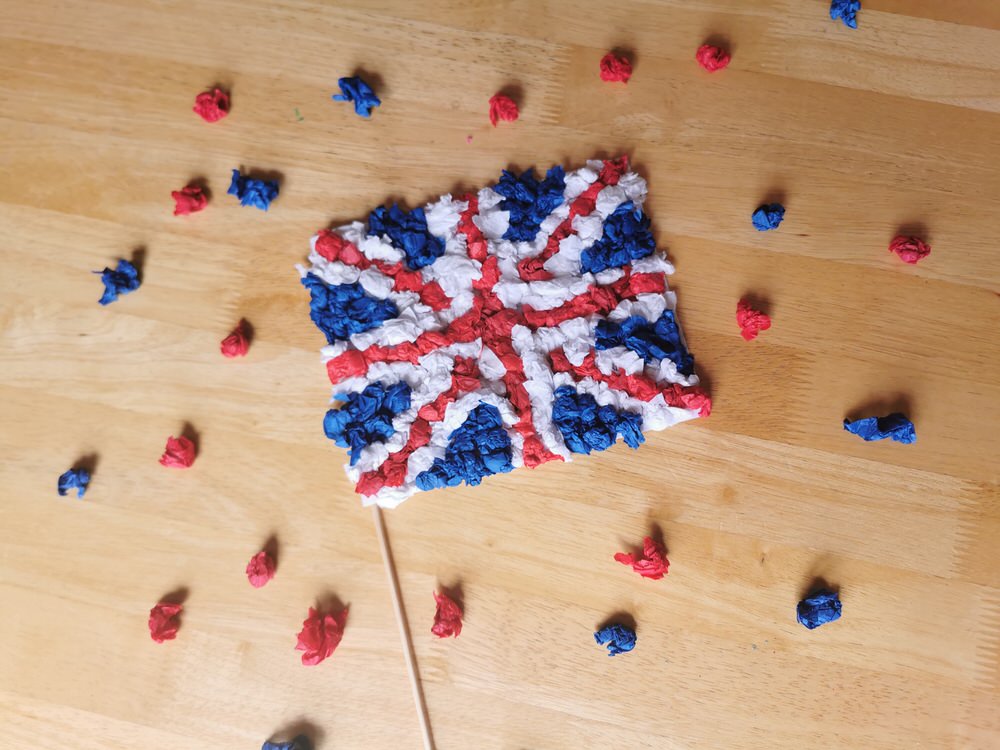
I thought I would get my craft on with Elian this weekend and make up some Union Jack Flags using some of the craft supplies I had left over from all the home schooling activities I did last year. I though some little Union Jack flags would be perfect for the Queens Platinum Jubilee party his class are throwing at the end of the month.
(This post may contain affiliate links, which means we make a tiny commission should you buy through some of the links on the page, but this does not affect cost to you. See more info here)


With the Queens Platinum Jubilee taking place in June this year I’ve been looking for crafts and activities to do with my school playgroup. I have found an awesome collection of crafts, sensory play and activities for celebrating the Queens Platinum Jubilee with Kids. You can find them all on this post here. These crafts include Union Jacks, Crown Jewels, Castles, the Royal Family and the Palace Guards, plus lots of decorations to help celebrate and commemorate our Queen’s historic reign of 70 years.


WHEN IS THE QUEEN’S PLATINUM JUBILEE?
On 6th February this year Her Majesty The Queen became the first British Monarch to celebrate a Platinum Jubilee, marking her 70 year reign of the UK and the Commonwealth. To celebrate this unprecedented anniversary, events and initiatives will take place across the country throughout the year, and will end with a four day UK bank holiday weekend from Thursday 2nd to Sunday 5th June.
What you will need to make these Crepe Paper Union Jack Flags
- White Card
- Tissue Paper (in white, blue and red)
- Glue stick
- Kebab stick or paper straw
- Sellotape
How to make these Tissue Paper Union Jack Flags
- First you are going to want to ball up lots of tissue paper. I cut my sheets into approx 2 inch squares, then scrunched them all into little balls
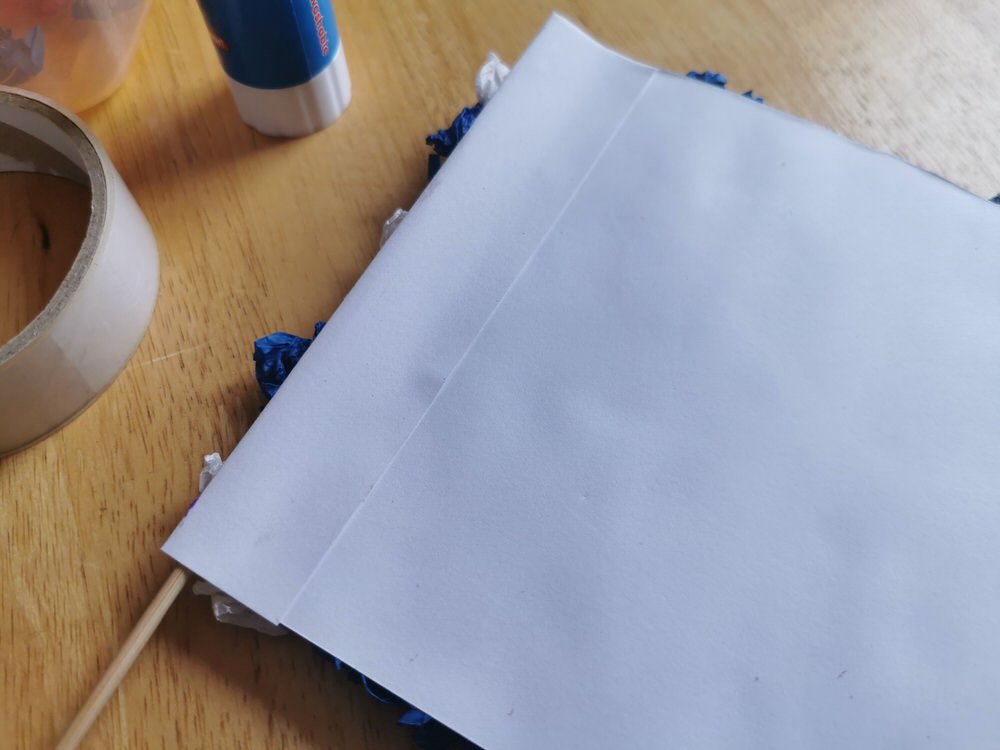
- Next you want to cut your white cardboard to make your flag. I cut a sheet of A4 in half, then folded over 1 of the shorter sides by about an inch to create the channel for your flag pole
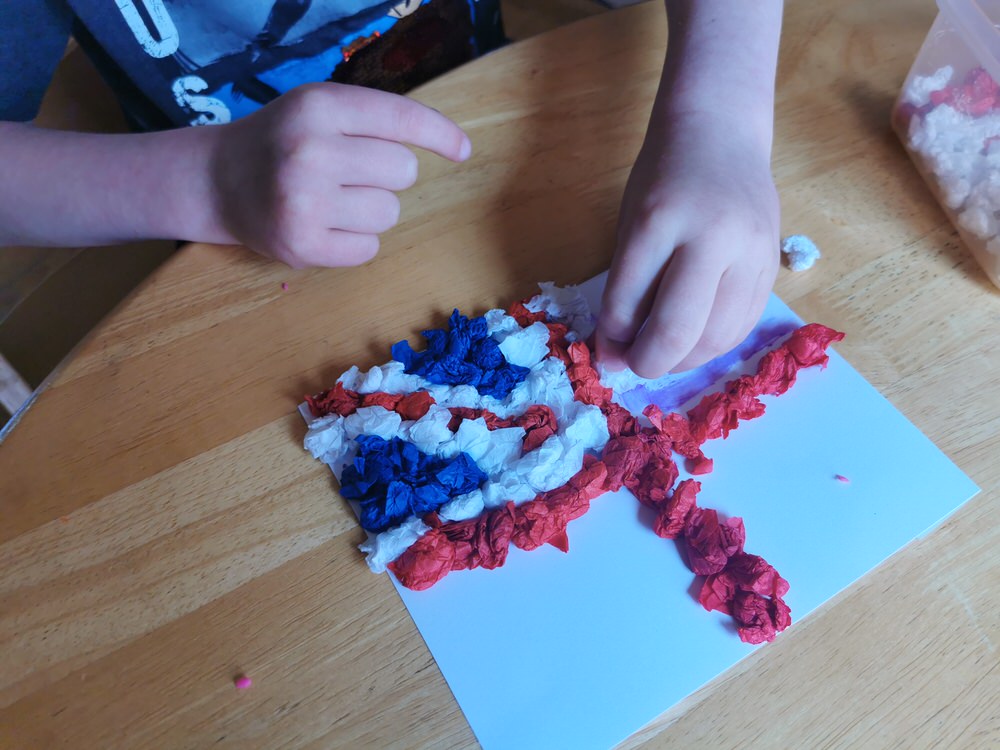
- Then you have the fun pat of creating the flag pattern. I found it easiest to do the central red cross first then work on each 1/4 one at a time. Line the section of the red cross with white, then add the diagonal red, again line with white, then fill in the gap with blue. Repeat on each quarter. Glueing each section as you go and pressing it all down well
- When you finish the flag pattern you need to attach your flag post. Turn your flag over and tape your chosen stick into the corner of the flap you made at the start. Then glue down the west of the paper to secure it in place
- Your flag is done! Wave it proudly or use to decorate your party tables
If your looking for more kids crafts check out our other crafty posts
- Kids Crafts // Toilet Roll Bumblebee Craft for Kids
- Crafts // Toilet Roll Butterfly Craft for Kids
- Crafts // Toilet Roll Ladybird Craft for Kids
- Crafts // Egg Box Flower Craft for Kids
- Crafts // Mothers Day Craft for Toddlers – Handprint Flower Card


IF YOU HAVE ENJOYED THIS POST AND FOUND IT USEFUL, HERE ARE SOME WAYS YOU CAN SAY THANKS AND SUPPORT TWO HEARTS ONE ROOF
- Leave me a comment
- Pin this post using the Pinterest Image below
- Share this post with friends on Facebook or Twitter
- Buy me a cuppa
- Follow us on Facebook or Instagram (interact with our posts if you see them, a simple like or comment is a huge help with algorithms)
- Buy one of our Forever Loved Star Pin badges to help support our Stars For Ebben Fund


